

This quick tip will show you how to draw a nice looking cardboard texture. You will learn interesting techniques on how to use a very useful Blend Tool, along with the basic shape tools and a little dose of gradients. Also, we’ll take advantage of the Appearance Panel to speed up the process and keep the objects fully editable. Let’s get started!
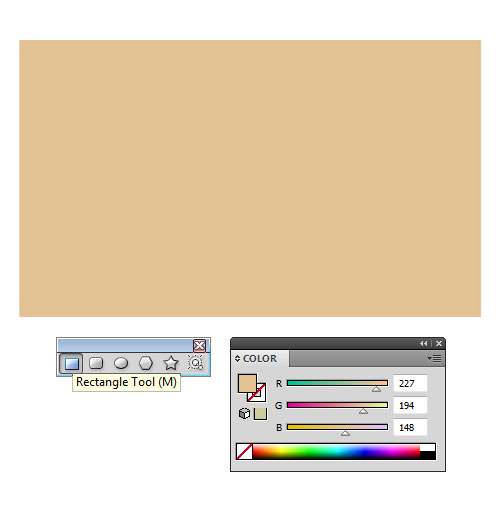
1. Create a new blank document and set the dimensions of the Artboard to 800 x 600px. Then, grab the Rectangle Tool (M) from the Tools Panel and draw a rectangular shape with the following dimensions: width – 700px, height – 450px. Pick the color from the Color Panel and fill the resulting object with light brown (R=227, G=194, B=148).
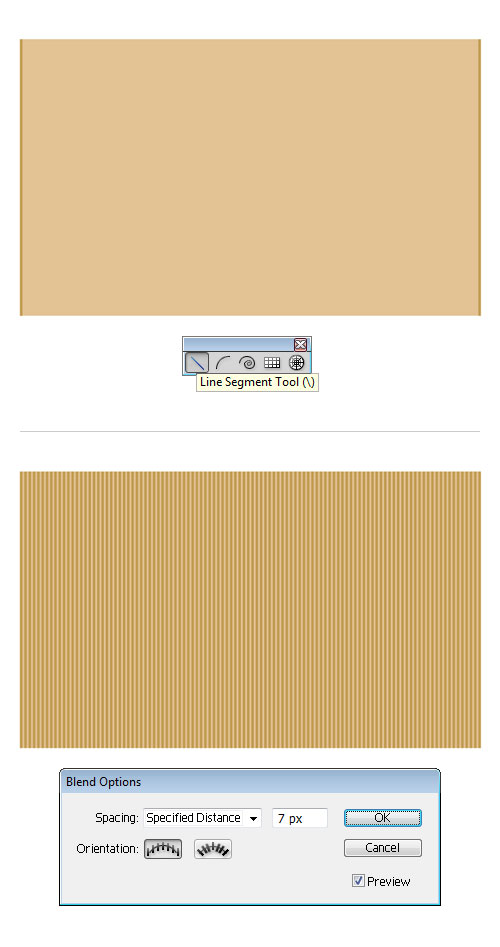
2. Let’s create our first cardboard element. Grab the Line Segment Tool (\) and drag downward to create a vertical line along the left side of the background. Change the stroke color to medium brown (R=192, G=155, B= 80) and set the Stroke Weight to about 4pt. Duplicate the previous object and place it along the right side of the Artboard. Select both objects, and go to Object > Blend > Make (Alt+Ctrl+B) to multiply the objects. To modify the settings, double-click on the Blend Tool (W) from the Tools Panel, in order to open the Blend Options. Select Specified Distance from the Spacing drop-down menu, type 7px and confirm with OK.
3. Make sure blend object is still selected, and go to Object > Expand… in order to expand the object. Once a dialog box appears, uncheck the Fill box only and hit OK. Once done, select Effect > Distort & Transform > Roughen… to open the dialog box. Now alter the settings to around 1 Size, 30 Detail, Absolute and Smooth and click OK. Open up the Transparency Panel and reduce the Opacity to 40%.

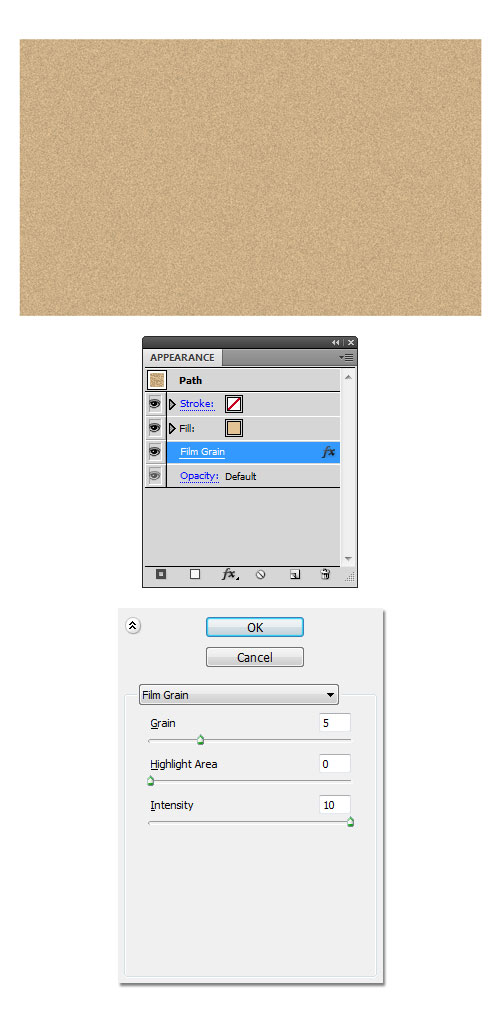
4. Make a copy of the background we have created in Step 1 and place it just above our first cardboard element (vertical stripes). To do this, keep the object selected and use Bring to Front (Shift+Ctrl+]) command, to place the object on the top. When you’re done, go to Effect > Artistic > Film Grain in order to open the dialog box. Set the ‘Grain’ slider at 5 and the ‘Highlight Area’ slider at 0. Finally, increase the ‘Intensity’ to about 10 and hit OK.
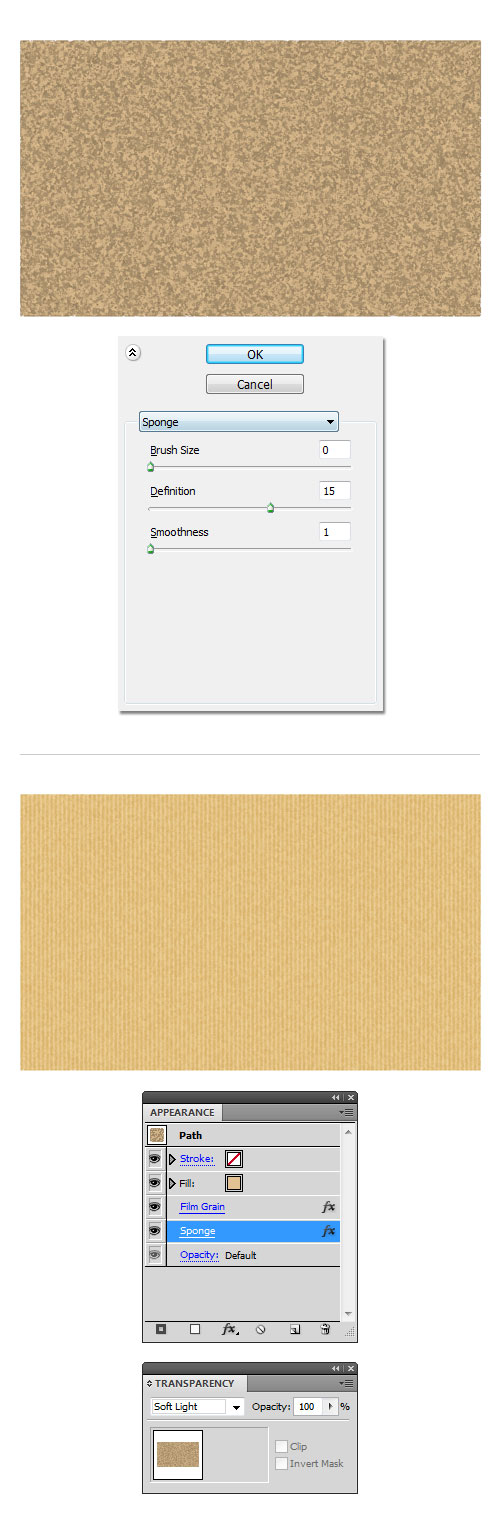
5. Keep the object selected, and go to Effect > Artistic > Sponge to open a dialog box. Set the ‘Brush Size’ slider at 0, the ‘Definition’ at 15 and the ‘Smoothness’ at 1 and then click OK.
In the Transparency Panel change the Blending Mode to Soft Light (Opacity 100%).
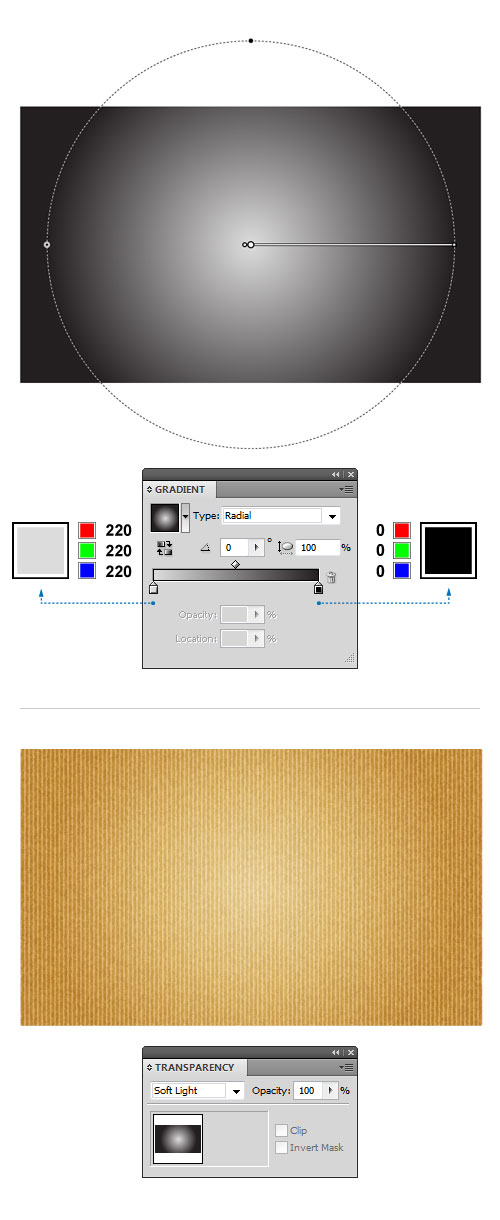
6. To finish the cardboard texture, make a copy of the rectangle we have created in Step 1. Then, place the object on top using Bring to Front (Shift+Ctrl+]) command. Open up the Gradient Panel and fill the resulting shape with the following radial gradients, as shown below: white (R=220, G=220, B=220) and black (R=0, G=0, B=0). Open up the Transparency Panel and change the Blending Mode to Soft Light (Opacity 100%). That’s it. I hope you’ve enjoyed this tutorial.
View the list of all 101 Illustrator special effects tricks at 101 Illustrator Special Effects.
