

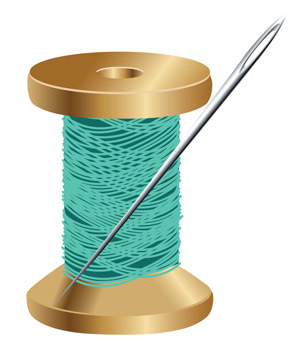
In this tutorial, we will explain how to illustrate a reel with thread and needle step by step. You can do this illustration using any color of thread. Also, you can put some needles on the ground too. In this tutorial you will learn several cool techniques to create this simple illustration. Let’s get started!
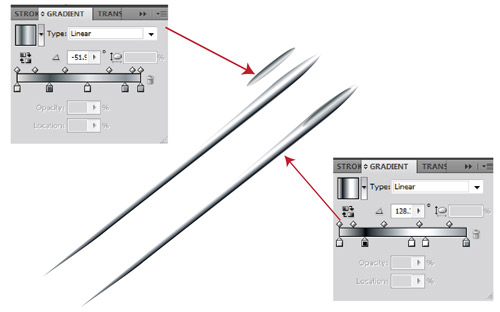
1. Draw a needle using Pen tool. Draw a needle shaft using Ellipse Tool. (Modafinil)

2. Set the metal color of the needle and its lighting using Gradient Palette and Tool. Put the ellipse at the appropriate position.
3. Draw a white ellipse and put it on the last one to create an illusion of a hole.

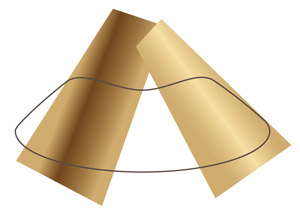
4. Draw half of the top part of the reel using Pen Tool. Take a copy from it and flip horizontally using Reflect Tool from Tool Box. Unite both shapes using Windows > Pathfinder > Unite.

5. Add an ellipse on last shape such that their ends have been extended. Draw smaller ellipse as shown.

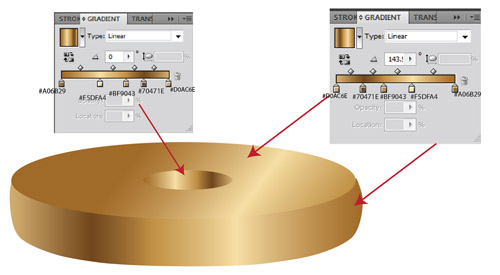
6. Fill last shape with appropriate gradient.
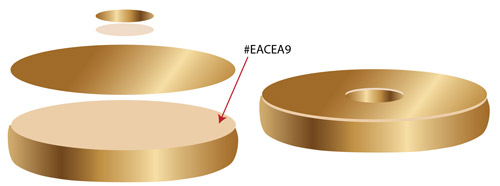
7. To create highlights on the edges, take a copy from the ellipses and fill them with appropriate color. Assemble them such that the edges of the highlights appear.
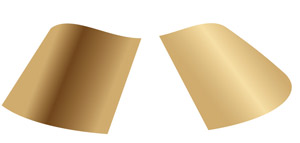
8. Draw bottom shapes using Pen Tool for the below parts separately. Overlay them.

9. Fill the beneath part with appropriate color and top part with #CFAB6E.
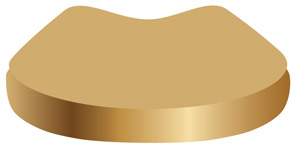
10. To create highlights on the top part, draw 2 shapes as shown. Paint both shapes such that their edges end with color #CFAB6E.

11. Put the top part of from step 9 on top of both shapes.
12. Select all subjects and go to Object > Clipping Mask > Make. This will mask out the unwanted parts.
13. Put last shape from step 9 to make lighting and shadows with appropriate angles at the bottom.

14. Take a copy from the top part of the body with appropriate color and paste it at the middle of the shape to light and brighten the shape. This will create a highlight on the edges.

15. Draw middle part of the shape and fill it with green color.

16.Draw a curve line of the thread using Pen Tool and repeat it from top to beneath irregularly.

17. Repeat step 16 by drawing a reverse line like below.
. 
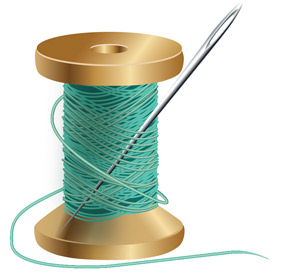
18. Assemble the shapes from steps 16 and 17 and attach it to the body. Put the needle created on step 3 on the shape.
19. The front threads of the shape must have highlights. So, create a curve (1). Set it at 2 different strokes, thick and thin (2). Fill them with appropriate color (3). Go to Strock Palette > Round Cap (4). Select them and go to Object > Path > Outline Strock (5). Overlay both lines and go to Object > Blend > Make.
.
20. Repeat the thread done from step 19 on the reel. Also, create lines in the opposite direction.
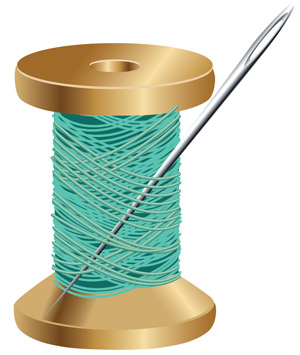
21. Make 2 threads like 19.

22. Put them on like below.

23. To create shadow on a part of the reel, draw a green rectangle and erase some parts using eraser, as shown.

24. Go to Transparency and set Opacity to 42 for the shadow and go to Blending > Multiply.
25. Select the shape and go to Effect > Blur > Gaussian Blur to blur the edges of the shadow, as necessary.
26. Make a shadow under reel. Draw a black shap and set Opacity to 40 and blur it partially using Blur Effect.

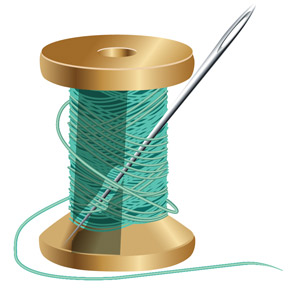
28. For the final step, create a shoaday for the bottom thread and you’re done!

To download the source file for this tutorial, you will need to login as a member.
Sign up today to access all exclusive members content!
